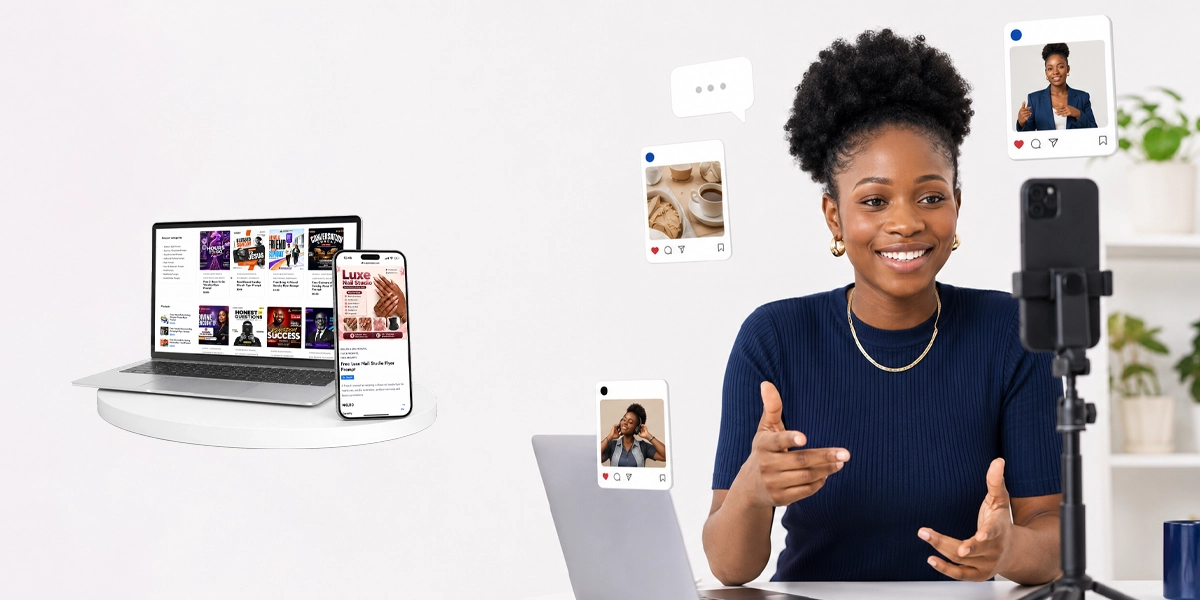


You can see the perfect image in your mind—a particular person, pose, colour, background and mood. But when you describe it to an AI image tool, the result looks completely different.
This can be frustrating, especially when you are creating product visuals, social-media content, flyer concepts or images for a website.
The problem is not always the idea. Sometimes, the image prompt does not explain the visual clearly enough.
AI cannot see the picture inside your head. You have to translate that picture into useful instructions.
“A strong image prompt describes what the viewer should see—not only what the creator is thinking.”
If you are completely new to prompting, begin with our guide explaining
what an AI prompt is.
Then use the visual formula below to make your image instructions clearer.
Why short image prompts often disappoint
Imagine asking for “a woman working on a laptop.” The AI still has to make many decisions.
- What does the woman look like?
- Where is she working?
- What is she wearing?
- Is the image realistic or illustrated?
- What angle should the camera use?
- What should the lighting feel like?
- What will the image be used for?
When those decisions are missing, the tool fills the gaps. Its choices may not match yours.
The simple AI image prompt formula
Subject + Action + Setting + Composition + Lighting + Style + Colour + Important details
You may not need every part for every image. However, this formula helps you identify the details that can change the final result.
1. Describe the main subject
Begin with the most important person, object or product in the image.
Instead of writing “a businesswoman,” include visible details that matter to the concept.
Too general: A businesswoman with a laptop.
More specific: A confident young Black female business owner wearing a simple blue blazer, seated with an open silver laptop.
Describe only the traits needed for the image. Unnecessary details can make the prompt crowded or create conflicting instructions.
2. Explain the action
State what the subject is doing. “Standing,” “working” and “smiling” can still be too broad, so explain the visible action.
Example: She is looking at the laptop screen while pointing towards six floating design cards arranged above the device.
If the position of the hands, face or body is important, describe it clearly. You may still need to refine the result, especially when several people or objects are interacting.
3. Choose the setting
The setting explains where the scene takes place and what should appear in the background.
Possible settings include:
- A clean white photography studio
- A modern home office
- A bright beauty studio
- A busy outdoor market
- A minimal product display platform
If you need space for website text, mention that the background should remain simple and uncluttered.
4. Control the composition
Composition explains how the subject should be positioned inside the image. This is especially important when creating website banners, posters and social-media designs.
You can request:
- A close-up, waist-up or full-body view
- A centred or off-centre subject
- A front, side or overhead camera angle
- Empty space on the left or right for text
- A symmetrical or diagonal arrangement
- A square, portrait or wide-banner format
Website example: Position the laptop and phone mockup on the right side of a wide hero banner. Leave clean negative space on the left for a heading, short paragraph and button.
Thinking about where the image will be placed before generating it can save you from receiving a beautiful image that does not fit the design.
5. Describe the lighting
Lighting can change the entire mood of an image. “Bright” and “dark” are useful starting points, but you can be more precise.
- Soft natural window light
- Bright commercial studio lighting
- Warm evening light
- Dramatic side lighting
- Clean, even product photography lighting
For product displays and website mockups, clean studio lighting with soft shadows often makes the subject easier to separate from the background.
6. Choose a visual style
Tell the AI whether you want a realistic photograph, polished 3D render, editorial image, flat illustration or another visual direction.
Avoid combining too many unrelated styles in one prompt. Asking for something that is simultaneously photorealistic, hand-drawn, flat and cinematic may create an inconsistent result.
Example: Premium commercial product photography, realistic materials, clean modern styling and soft natural shadows.
7. Define the colour and mood
Colour instructions can help an image fit your brand or campaign.
Instead of requesting “beautiful colours,” name the main colours and explain the feeling they should create.
Example: A white background with deep navy and royal-blue accents. The overall mood should feel modern, intelligent, optimistic and trustworthy.
For brand work, provide the exact colour codes when they are important. Remember that generated colours may still need correction during editing.
8. State what should not appear
If a clean result is important, include a short list of unwanted elements. This is sometimes called a negative prompt.
You might request:
- No busy background
- No visible logos
- No extra people
- No decorative text
- No heavy shadows
- No cropped product edges
Keep this section focused on the problems that could make the image unusable. A very long list of negative instructions can become confusing.
Put the full formula together
Create a realistic commercial photograph of a confident young Black female entrepreneur wearing a simple blue blazer. She is seated at a white desk, looking at an open silver laptop and pointing towards six slightly transparent square design cards floating above it in a connected circular arrangement. Use a wide composition with the woman and laptop on the right, leaving clean negative space on the left for website text. Bright studio lighting, soft shadows, white background, deep navy and royal-blue accents, modern and optimistic mood. No visible logos, no decorative text, no additional people and no cluttered background.
This prompt does not guarantee a perfect first result, but it reduces the number of important decisions left to chance.
Do not force important text into the image
AI image tools can still struggle with exact spelling, small text and detailed layout. If you are creating a flyer or advertisement, consider generating the background and visual elements first.
Add the final headline, prices, dates, contact information and calls to action using your usual design software. This gives you more control and makes important information easier to correct.
Refine the image one problem at a time
If the first image is close but not correct, identify the main problem.
“Keep the same scene, but move the subject farther to the right.”
“Make the background completely white.”
“Change the camera angle to a side view.”
“Make the six design cards form a clearer circular arrangement.”
Changing everything at once can remove the parts you already like. Refining one issue at a time gives you more control.
The same principle applies to written responses. Our guide on
why AI gives generic answers
explains how clearer feedback improves weak results.
Reusable AI image prompt template
Create a [visual style] image of [main subject] [performing an action]. The scene takes place in [setting]. Use a [camera view] composition with the subject positioned [placement]. Leave [location] empty for [purpose]. Use [lighting], [main colours] and a [mood] atmosphere. Include [important details]. Do not include [unwanted elements]. The final format should be [square, portrait or wide].
Clearer descriptions create better starting points
Good AI image prompting is not about making a prompt unnecessarily long. It is about describing the visual decisions that matter.
Focus on the subject, action, setting, composition, lighting, style and purpose. Then review the result and refine the parts that do not match your idea.
You can also explore our
free AI prompt collection
for ready-made structures you can adapt to your own creative projects.
See more visual ideas and creative work
Follow TechEcoFrame on Instagram for creative content, design inspiration and project updates.